Front Load Washer - Not Draining
How to Clean and Test the Drain Pump
 |
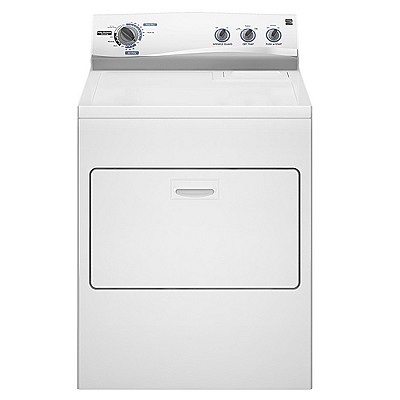
| Frigidaire Front Load Washer |
This means your laundry is not getting done, this also means you are very upset and are looking on the internet to learn how to fix the problem. Here you go, you found the right place.
My name is Bill, today we are going to learn how to clean and test the drain pump on your front load washer. There are a few things we need to cover before you work on your front loader.
1. Safety of course
2. Common Sense
3. Pay close attention to detail
4. Patience
 |
| Lower Panel |
If you follow those guidelines you shouldn't have any issue in completing this repair. The machine we are going to work on today for this demonstration is a Frigidaire Front Load Washer. All models are going to be very similar and you will be able to apply what you learn with this machine to other models, even other brands, including Whirlpool, Samsung, Maytag and GE and whoever else makes front load washers.
 |
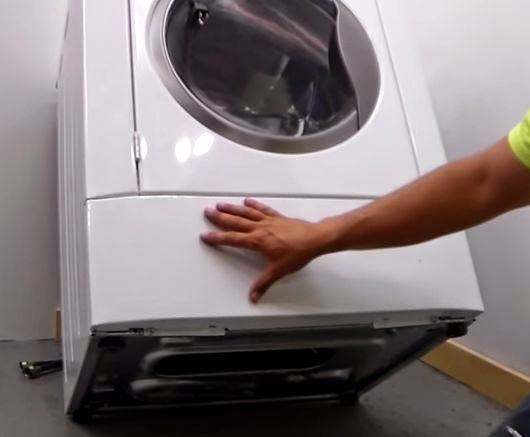
| Removing Top of Washer |
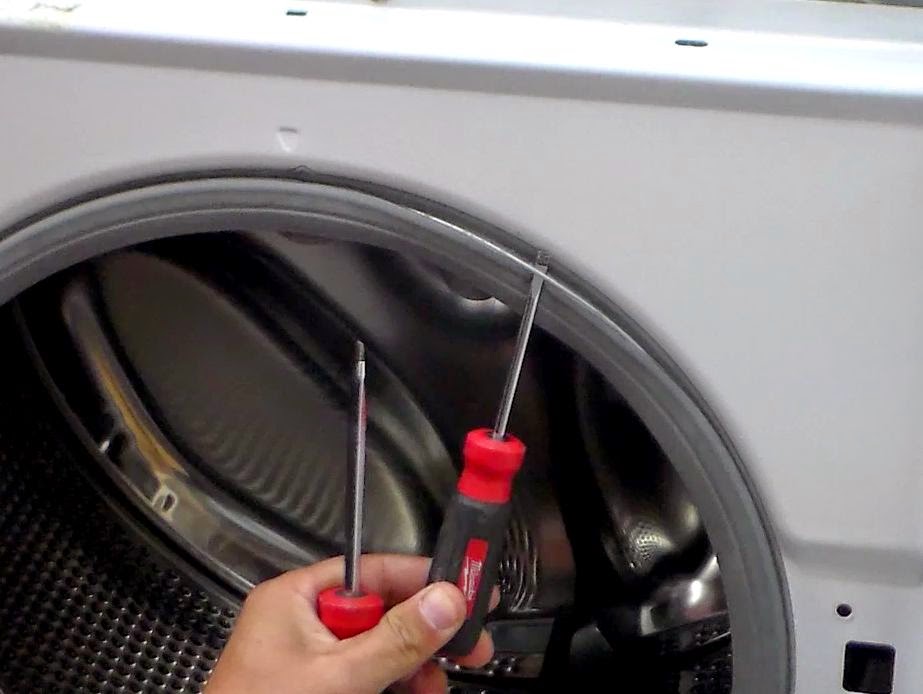
Some front loaders have a lower panel that is removable so you don't have to take the whole front of the washer off to access the drain pump. If your machine has a lower panel that is separate from the main front panel you are lucky. You have a lot less steps to get to the drain pump. To remove this lower panel, take out the two screws that are under the front edge and the panel will come off.
 |
| Dispenser Removal |
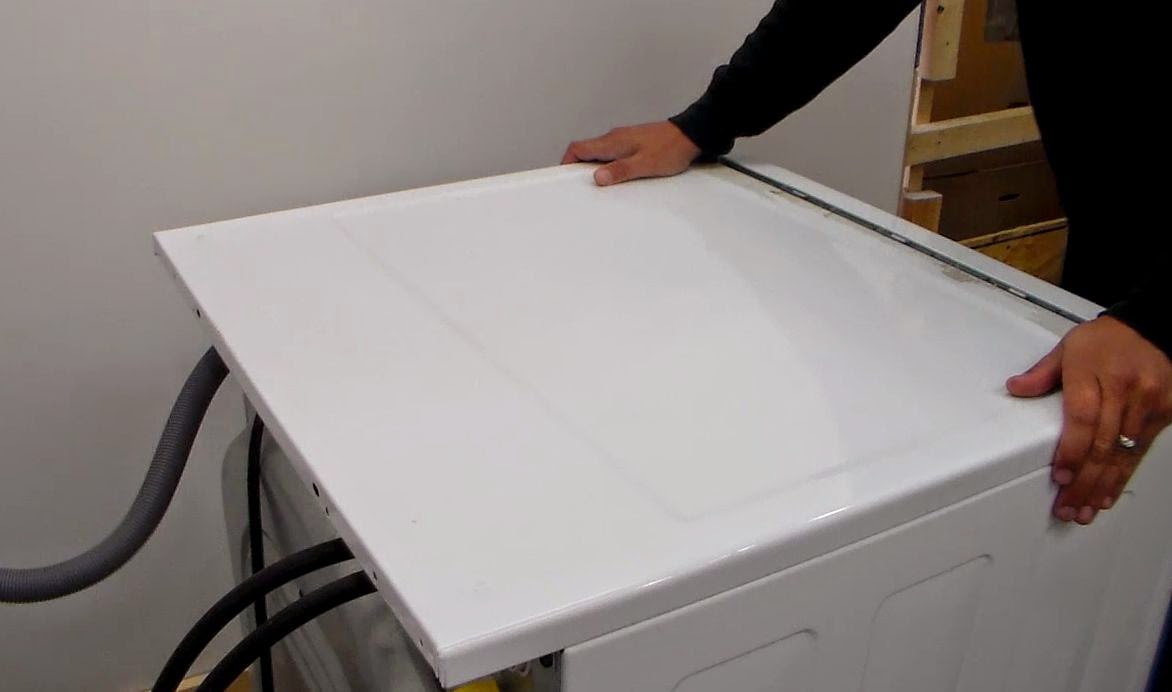
Now if your washer does not have the separated front, we are going to have to go through a few more steps to get to your drain pump. Starting off with the easiest step, we are going to remove the top panel of the washer. There are two screws on the back edge that hold it in place, take those out. Now you can push the top back then lift it off and set is aside, you're not going to need that for a while.
 |
| Screws Behind Dispenser |
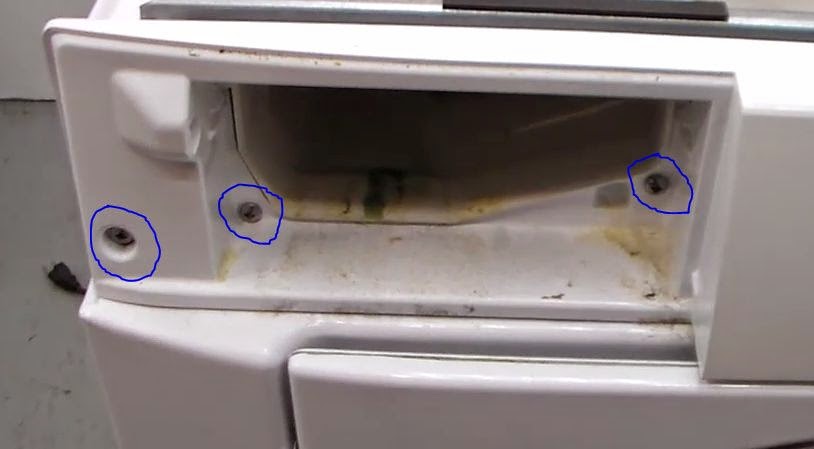
The control panel will need to come off next. There are a series of screws that hold that thing in place. It's a total of 5 screws all together. First take out the soap dispenser completely and set that off to the side. Start with the two screws up on top, then take the three out that were behind the soap dispenser. Now just grab the top edge of the control and pull it away from washer. It should come right off. Now lay that on top of the washer, you shouldn't need to remove any of the wires from it.
 |
| Control Panel Screw |
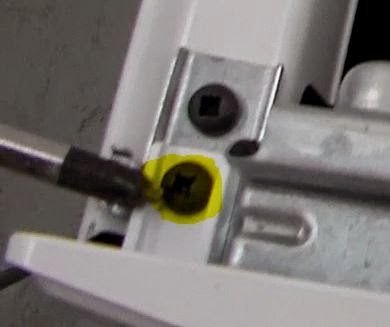
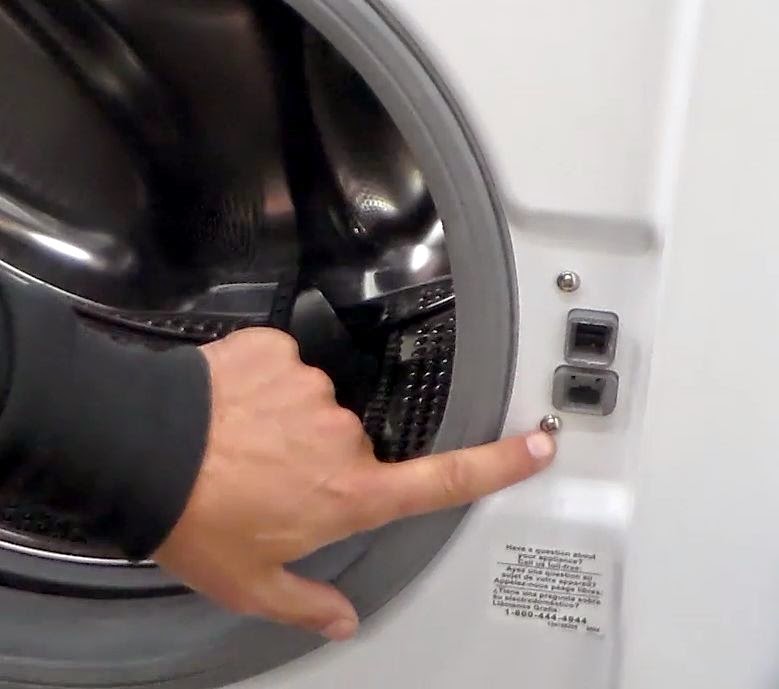
Next thing we are going to do is take out the screws that hold the door lock assembly onto the front of the machine. Don't worry about taking the door lock out, it can stay where it's at. Don't worry about disconnecting the wires to it either.
 |
| Pulling off the Control Panel |
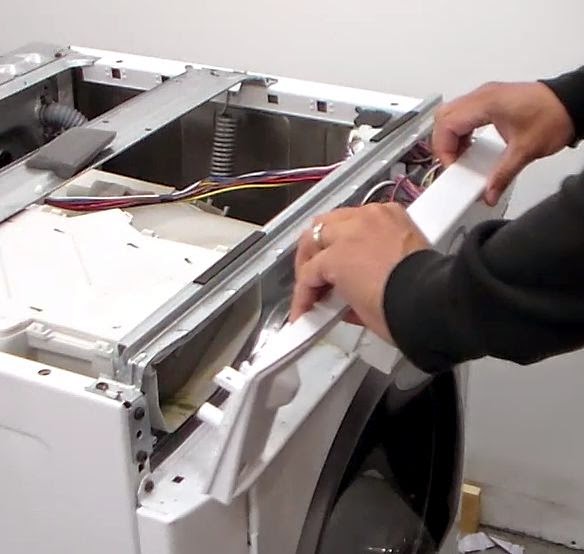
Now we will have to unhook the door gasket that's connected to the front of the washer. This is so when we take away the front, the door bellow is not hooked to it. There is a metal wire with a spring on it that fits around a groove on the gasket, simply grab a flat head screwdriver and pry it up, grab it and pull it off.
 |
| Door Lock Assembly |
Now you are ready to take out the last few screws that hold the front of the washer on. There are going to be 5 in total. Three across the top and two at the bottom. Once they are out you can take off the front of the washer and begin accessing the drain pump on your washer.
Two things need to be done when you have a washer that is not draining.
The first thing that needs to be done is cleaning the coin trap in the drain hose that leads to the drain pump. Most of the time this gets full of debris and prevents the washer from draining properly. This stops all sorts of items from actually getting into the pump and causing damage.
 |
Door Gasket Removal
|
The second thing that needs to be done is test the drain pump. Use a multimeter to get an ohm's reading on the motor and do a voltage test on the wires that go to the pump to make sure it's getting the proper voltage.
Once you have cleaned and tested your pump, you can put your washer back together and begin washing clothes.
Here are a couple YouTube Videos demonstrating How to Clean and How to Test your Drain Pump on a Front Load Washer. If you have read this article it is time for you watch the videos. The videos are on exactly what I have just talked about and they show you how to fix your washer in much better detail.